GoodNotes is where most digital planners end up, and there’s a good reason for that. It leaves a PDF’s hyperlinks alone. Your tabs, month links, and breadcrumbs were built into the file, and GoodNotes hands them back to you working.
This assumes you already have the planner file and a copy of GoodNotes. If the file is still sitting in your Etsy purchases, start with Bought a planner on Etsy? and come back.
Import the planner, don’t open it
This is the one that trips people up, so it’s worth being blunt about. Tapping the PDF in Files opens a preview, and a preview ignores links. You want the planner inside GoodNotes, as a document of its own.
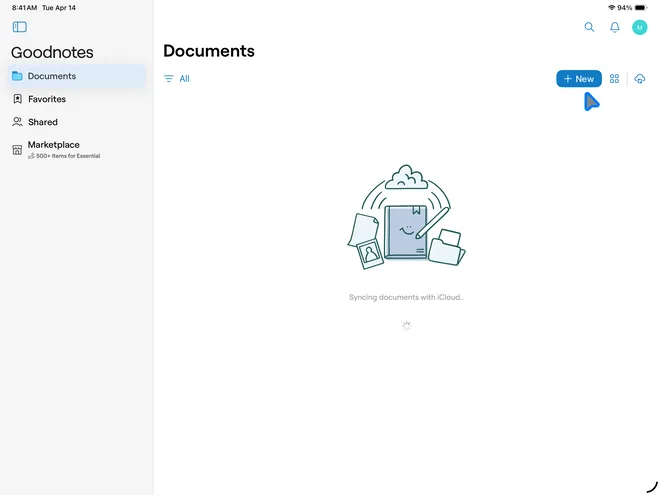
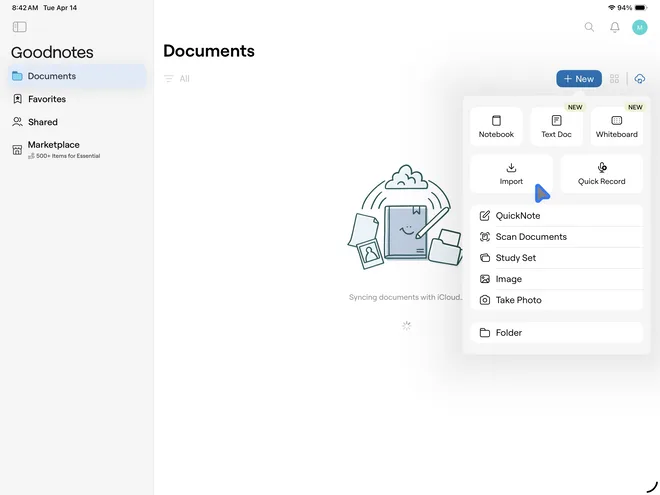
From Documents, use + New → Import, then pick the planner PDF. GoodNotes opens it as soon as it finishes.
GoodnotesImport Digital PlannerShow 4 steps, 4 screenshots
Launch Goodnotes, go to “Documents” and click the “+ New” button.
In the context menu that appears, click the “Import” button.
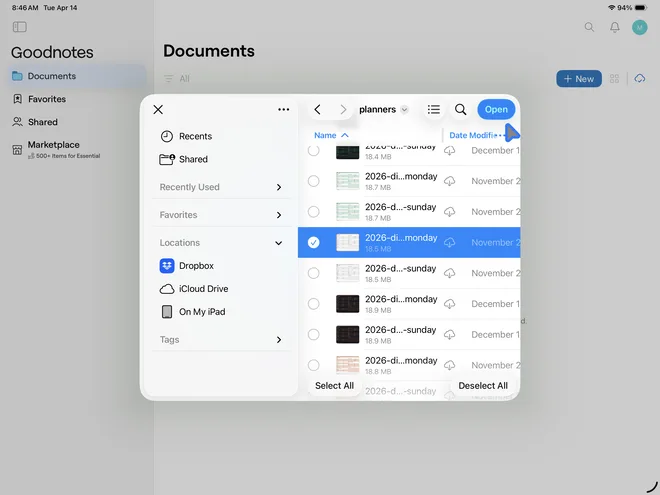
Navigate to where you’ve saved your planner files and select the version you want to use. Then click the “Open” button.
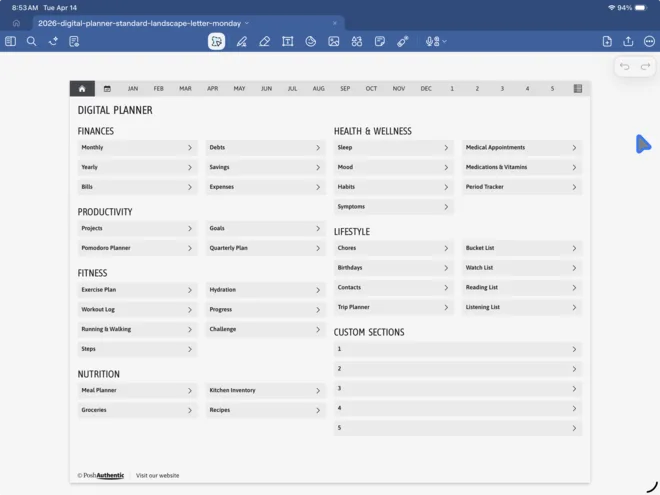
Once imported, Goodnotes will automatically open the planner.
If your planner came in more than one size or orientation, import only the one you plan to use. Bringing in all four just makes a crowded shelf.
Turn on Read Only before you start tapping
GoodNotes assumes you want to write, which is usually right and briefly wrong. The first time you tap a month tab with a pen selected, you’ll draw a small mark on the page instead of jumping anywhere.
Switch to Read Only while you’re getting your bearings, and back to editing when you’re ready to write. It’s a small habit that saves a lot of undoing, and almost nobody mentions it.
Add your cover
Most planners ship with cover art as a separate file, which sounds like an oversight and isn’t — it’s what lets you choose. Covers go in as a page before page one.
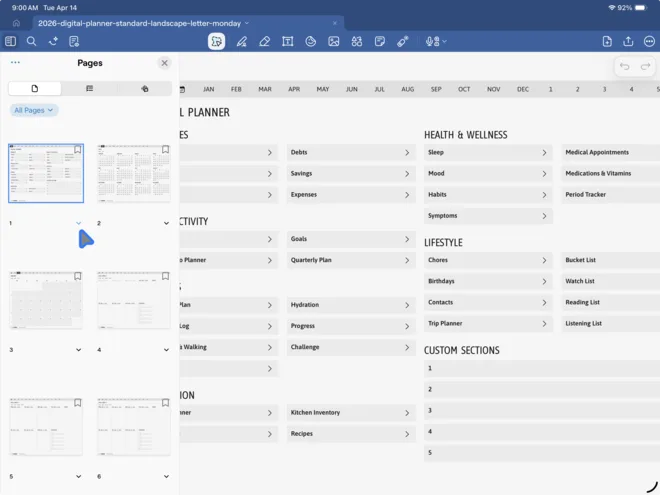
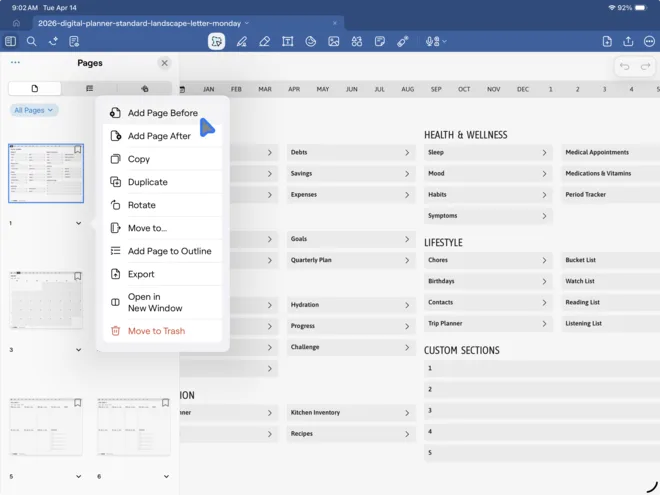
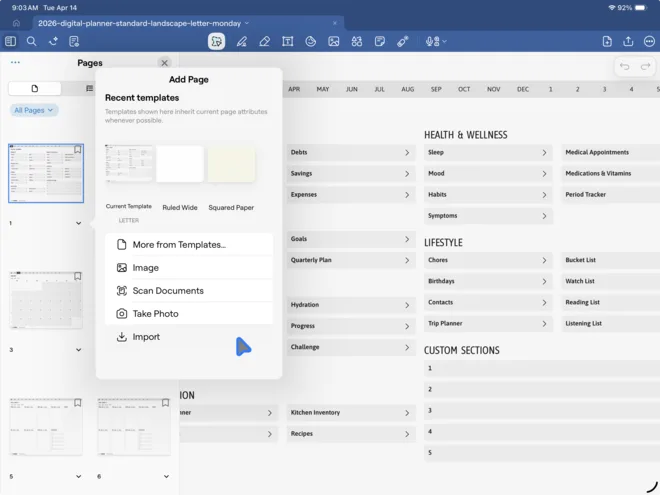
Open Content, select the first page, then use the caret below it → Add Page Before → Import, and choose the cover you want.
GoodnotesAdding a cover to your plannerShow 6 steps, 6 screenshots
With your planner open, click the “Content” icon in the menu bar.
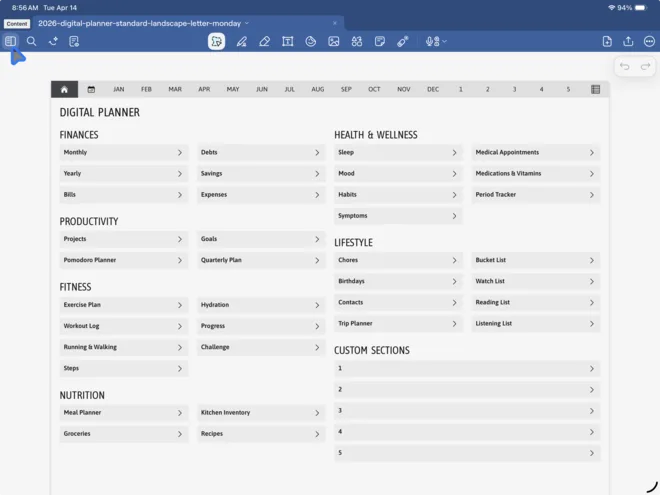
Select the first page, if not already selected and then click the downward facing caret icon below it.
In the resulting page action menu, click the “Add Page Before” menu item.
In the “Add Page” menu, click the “Import” menu item.
Navigate to where you’ve saved your cover files and select the one you want to use. Then click the “Open” button.
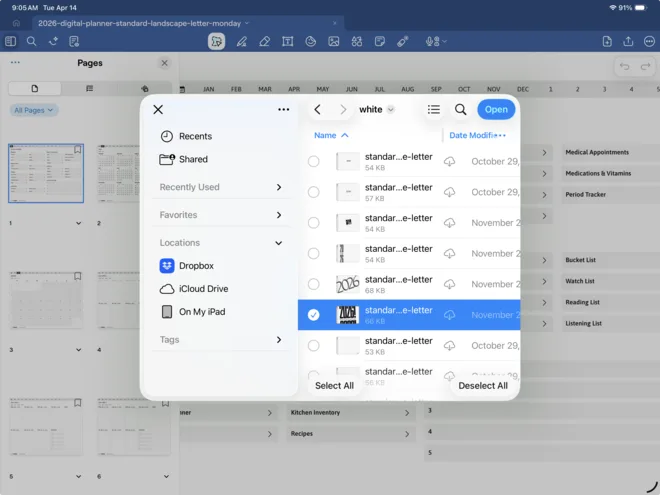
Once imported, your planner will now have a cover added.
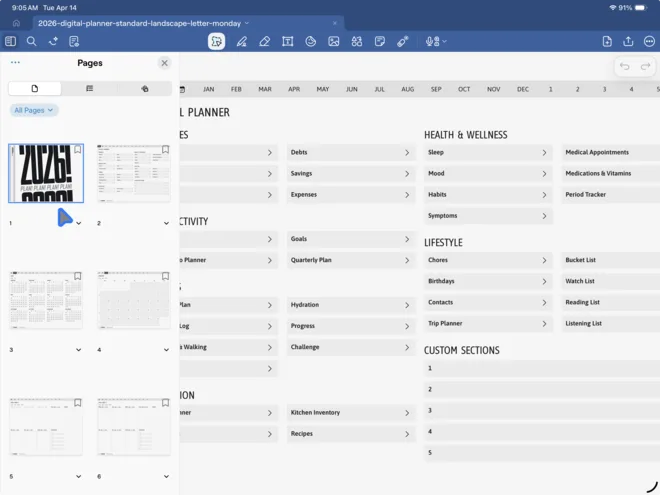
Swapping covers later is the same handful of taps, so nothing is locked in.
Getting around
A well-built planner is navigated, not scrolled. Ours has three ways through it and they’re worth learning in about a minute:
- The dashboard — the home page, with a button for every section
- The tab bar — on every page, so the calendar and your custom sections are always one tap away
- Breadcrumbs — under each page heading, exactly like a website’s, for stepping back up
Tap a week number in the year calendar and you land on that week. Tap January in the breadcrumb and you’re back at the month. Nothing needs scrolling, and once your thumb learns the tab bar you mostly stop thinking about it.
Stickers go in the Elements panel
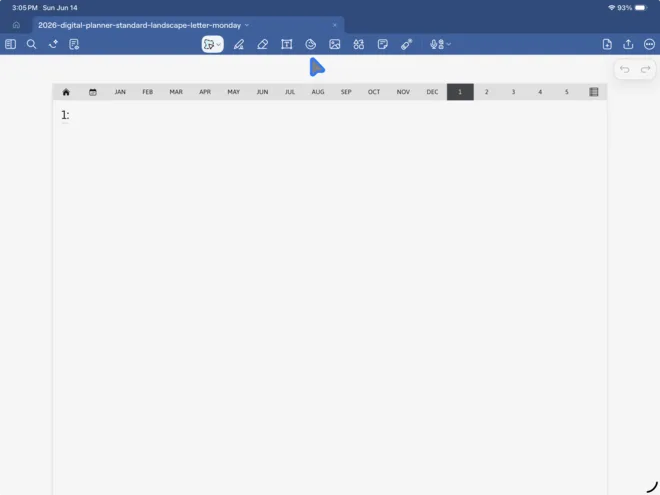
GoodNotes has a real sticker library built in, which is the nicest thing about using stickers there. It’s the Elements icon, in editing mode.
Use Add Collection → Import from… and choose a sticker collection file, and the whole set arrives as one named collection you can drag from. Individual PNGs work the same way — make a collection, give it a name, import the sticker into it.
GoodnotesUsing stickersShow 17 steps, 17 screenshots
Using a collection of stickers
With your planner open in “Editing mode”, click the “Element” / sticker icon.
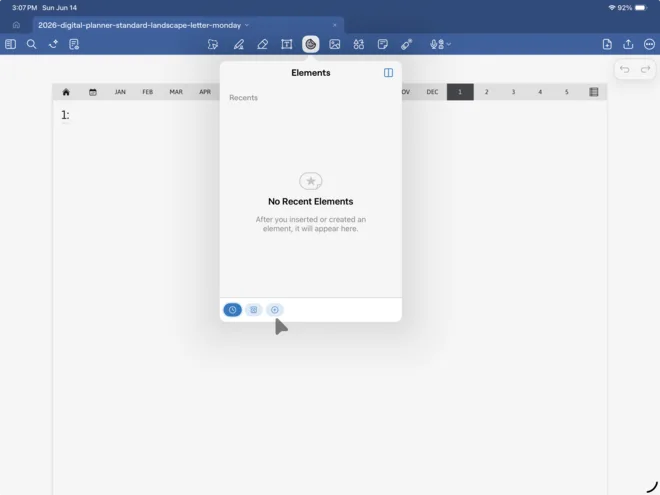
Having clicked the “Element” icon, in the “Elements” panel click the “Add Collection” button.
Having clicked the “Add Collection” button, the “New Collection” modal panel opens. In the modal, click the “Import from…” button.
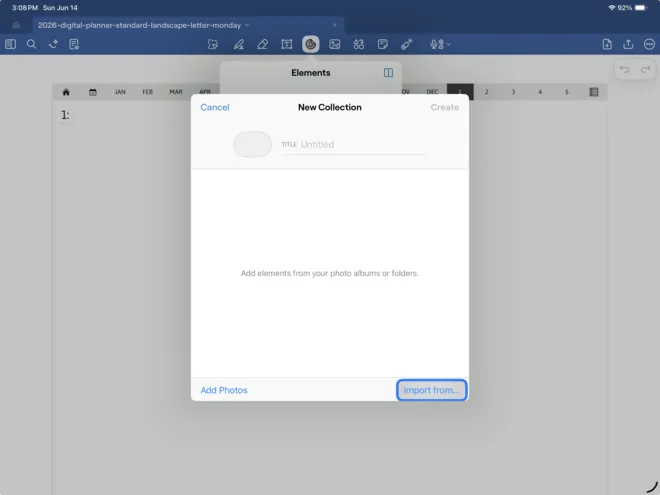
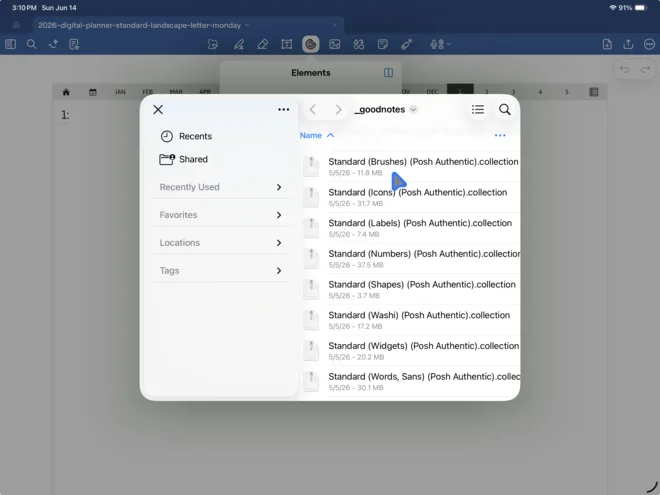
Navigate to the location at which you’ve downloaded your planner sticker collection and click the collection to be added.
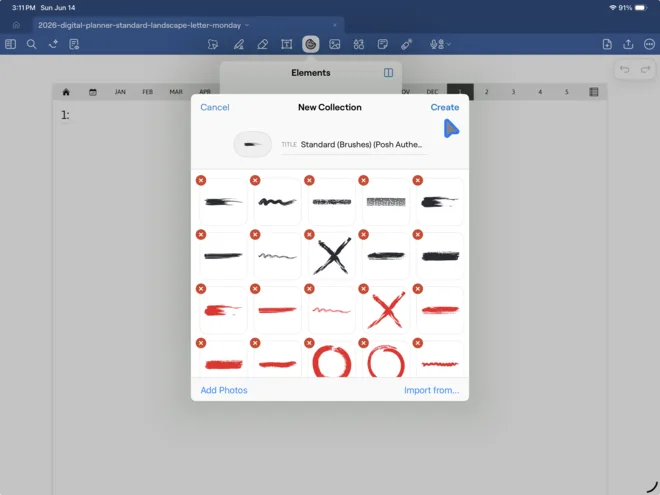
The collection you clicked will then populate the “New Collection” modal panel, with the same title as the collection file. Click the “Create” button.
Once created, the collection will be the currently selected collection in the “Elements” panel.
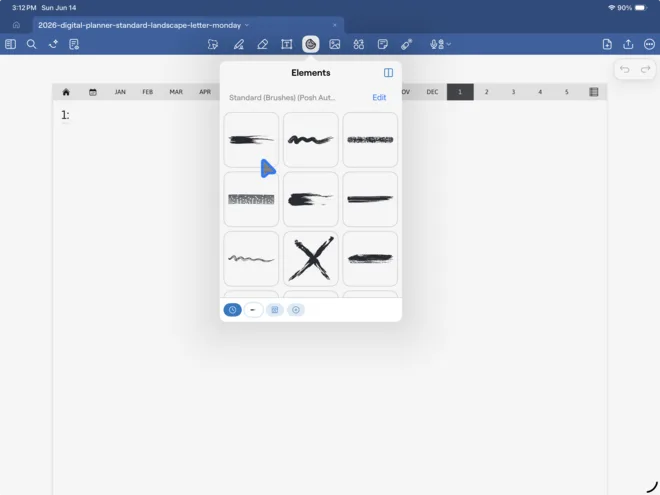
Click and drag a sticker to your planner page.
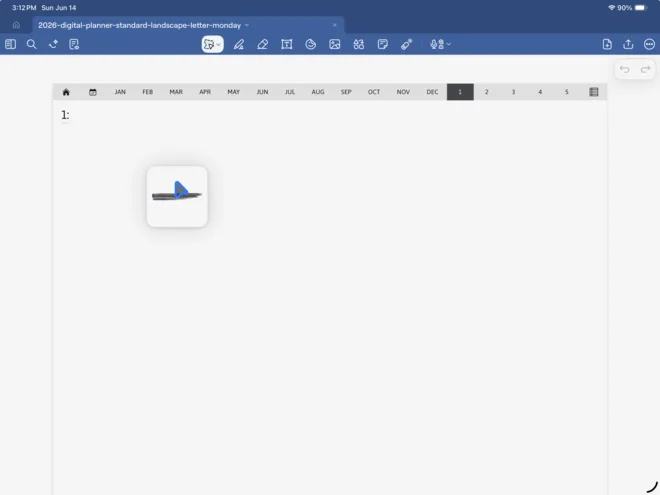
Once on the page, the sticker can be moved, resized, rotated.
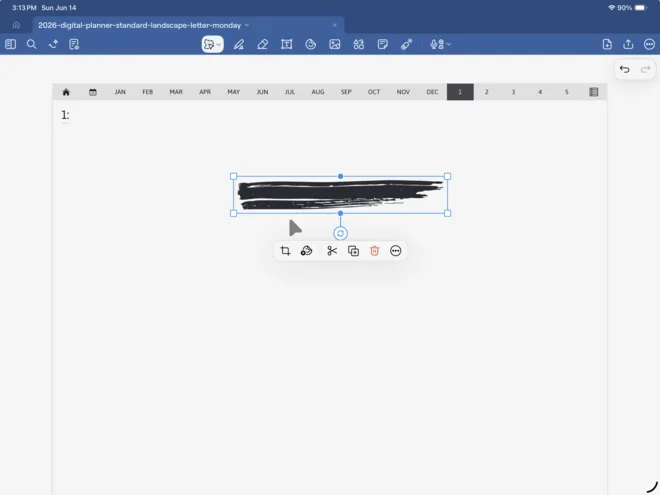
Using individual stickers
With your planner open in “Editing mode”, click the “Element” / sticker icon.
Having clicked the “Element” icon, in the “Elements” panel click the “Add Collection” button.
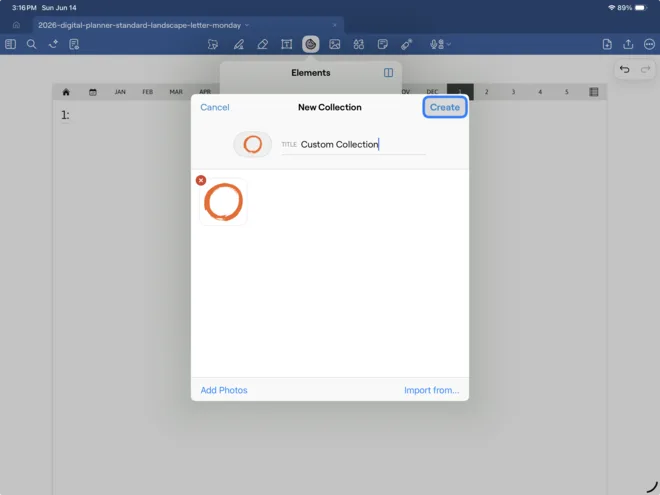
In the “New Collection” modal give your collection a title.
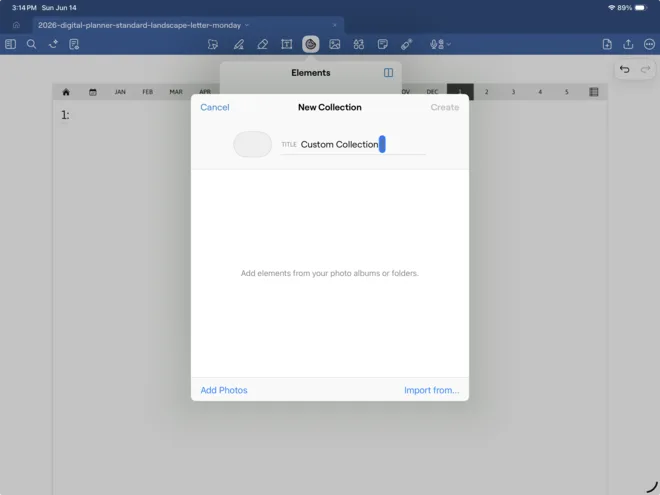
Click the “Import from…” button.
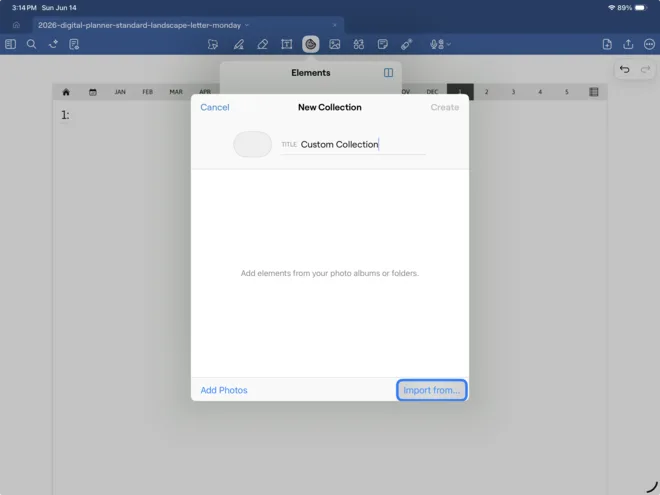
Navigate to the location at which you’ve downloaded your planner stickers and click the sticker to be added.
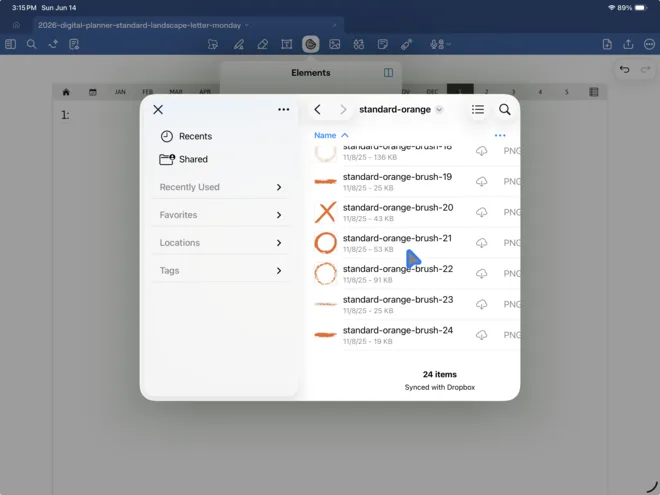
The sticker you clicked will then populate the “New Collection” modal panel. Click the “Create” button.
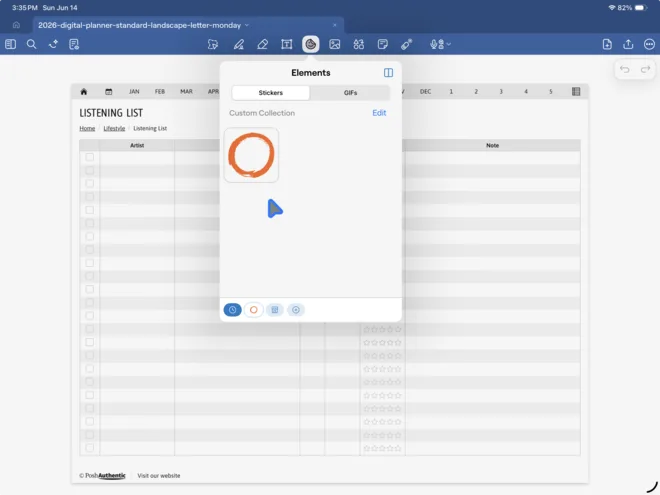
Once created, the new collection will now have your imported sticker in the “Elements” panel.
Click and drag a sticker to your planner page.
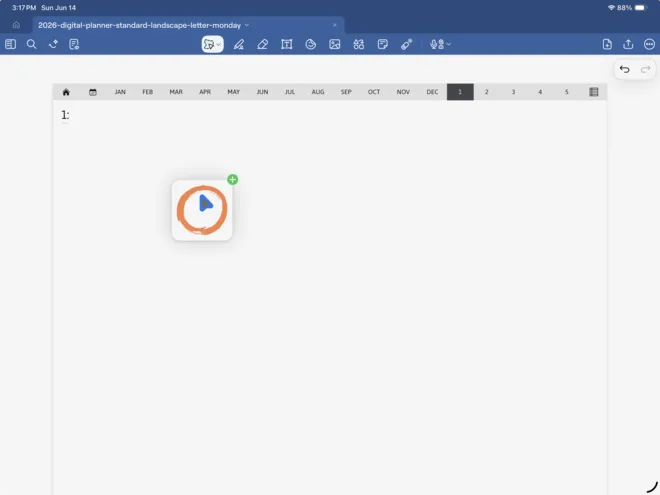
Once on the page, the sticker can be moved, resized, rotated.
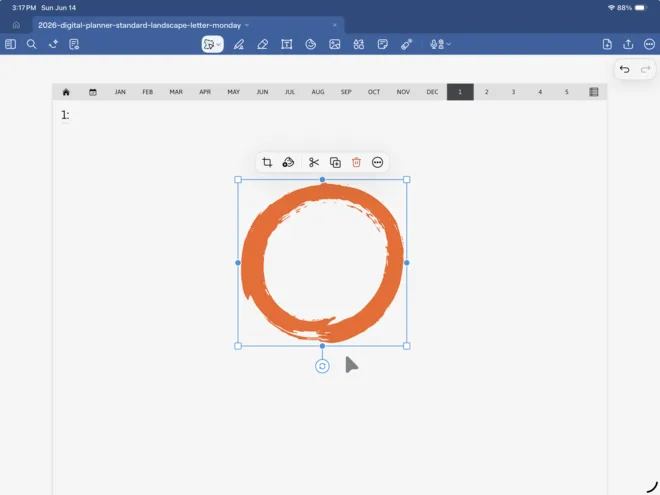
Once a sticker is on the page it moves, resizes, and rotates like any other element.
Making it yours
Two things worth knowing, because they’re what turn a fixed PDF into something that fits your year.
Duplicating a page. Content → select the page → caret → Duplicate. Handy when one weekly spread isn’t enough, or when a project wants five copies of the same layout.
Copying a page somewhere else. More → Copy Page, then navigate to where you want it and use Add Page → Before/After → Paste Page. This is how note templates end up in a custom section, and it’s the trick behind most of the setups you’ve seen on Pinterest.
Pages also rearrange by tap-and-hold-and-drag in the Content sidebar, and delete via Move to Trash.
If the links still don’t work
Check three things, in this order. Are you in a preview instead of GoodNotes? Are you in Read Only, or holding a pen? And did you import the planner rather than open it in place? One of those three is nearly always the answer.
If all three check out and the tabs are still dead, the file itself may have been rebuilt on import by another app before it got here. Re-import the original download and it should come right.
Where to go next
- How to use a digital planner — the short version, and the three things that have to be true
- Noteshelf and Noteful
- Setting up a digital planner on iPad
- Apple and Google Calendar integration